


Tuesday, February 8th, 2005
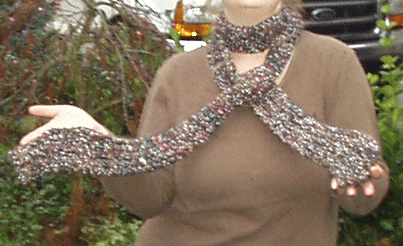
Beads, beads, and more beads
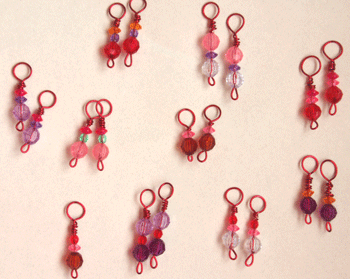
I’m up to 10 pair made. And I’m curious, do you ladies want a matched set? Or would you rather have two different markers? Let me know.
So, the tutorial. I took pictures yesterday, and before I show them to you, I have to say, I’m SO novice at this! Those of you who are real beaders are going to cringe, I’m sure, BUT, there was enough interest that I thought I’d post how I make them. The only instruction I’ve had was an email tutorial by my friend Yvette, who lives in France. (And I still SO appreciate it. You’ve been so good to me, Yvette. Thank you).
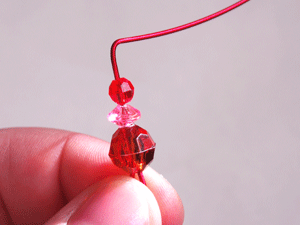
First, I take a length of 20 gauge wire about 2 1/2 inches long. I bend one end up a little bit, to make a loop, and I crimp the end to the vertical wire to make it tight.
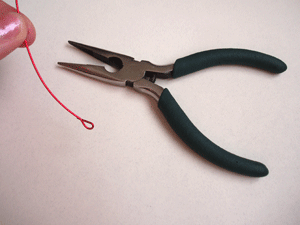
Pictured above is the only tool I have, which is a combination pliers/wire cutters.
Next, I slip on beads, making sure that the bottom bead covers the loose end.

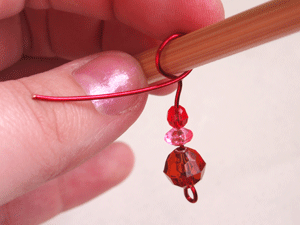
Then I use the pliers to put a 90 degree bend in the wire, a bit above the beads.
With a knitting needle held above the wire, I bend the wire around the needle. I’ve been using size 10 1/2.
Tightly wrap the remaining wire around the vertical wire, ending tightly above the beads so they don’t wiggle around and rise above the open end on the bottom. Crimp end tightly to avoid snags.
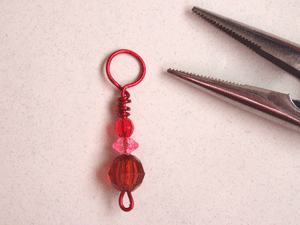
There you have it. Loads of fun. Yet another way to play with color. And I have to tell you, whenever I slip one as I’m knitting, I smile with glee.
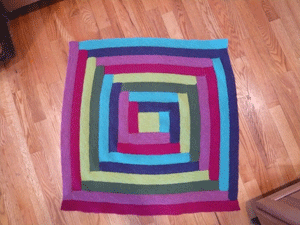
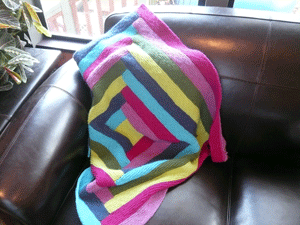
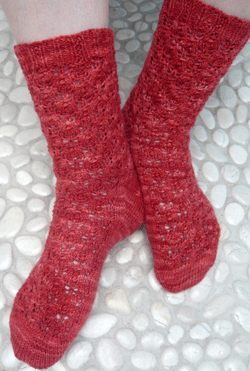
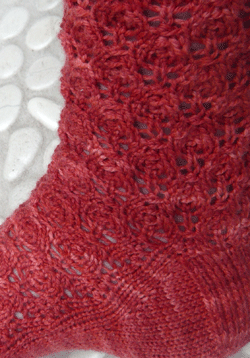
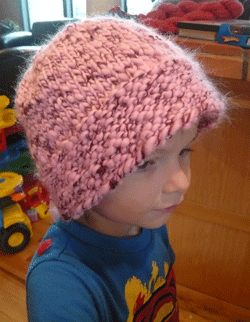
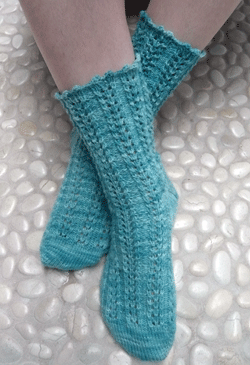
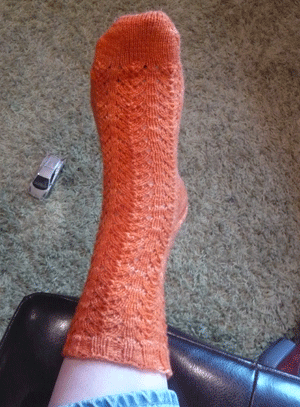
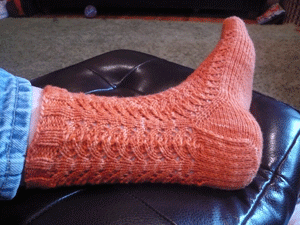
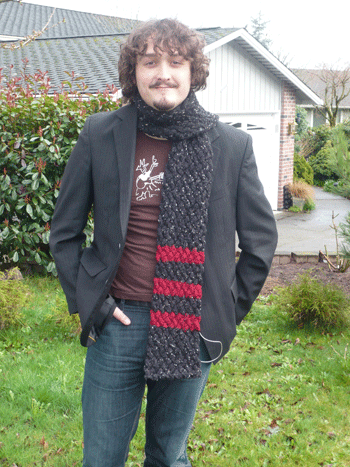
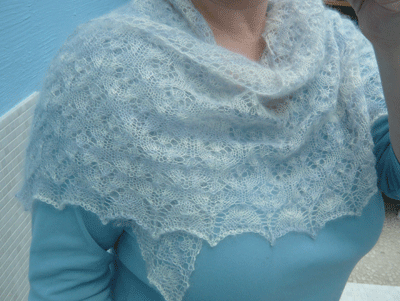
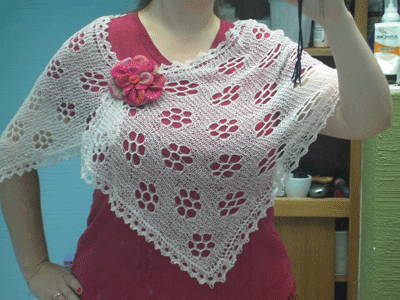
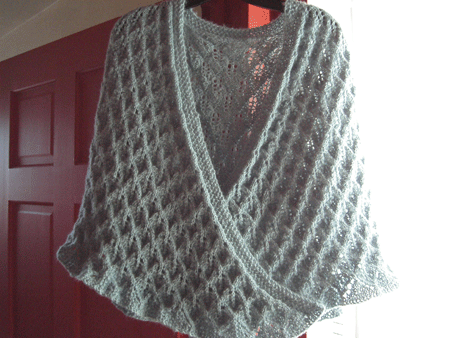
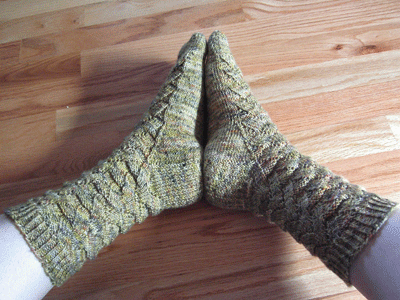
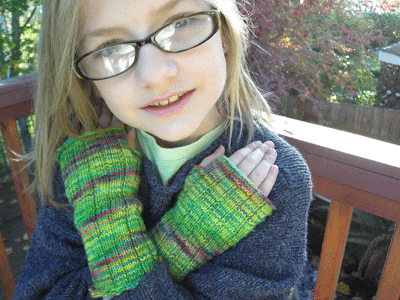
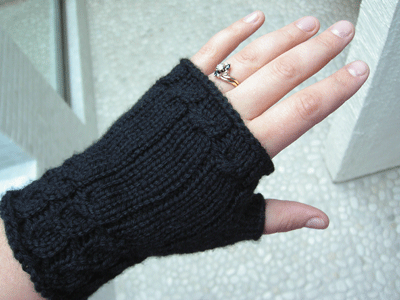
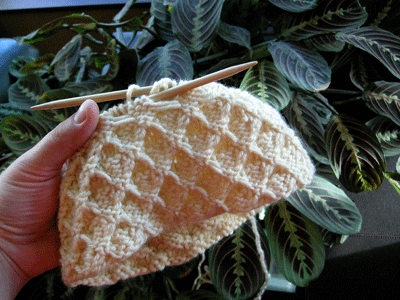
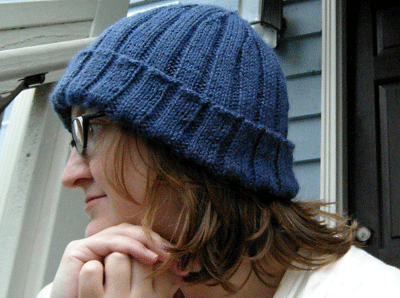
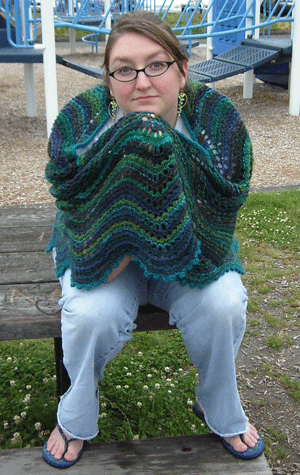
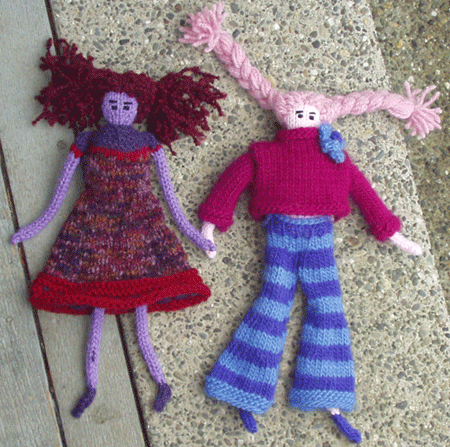
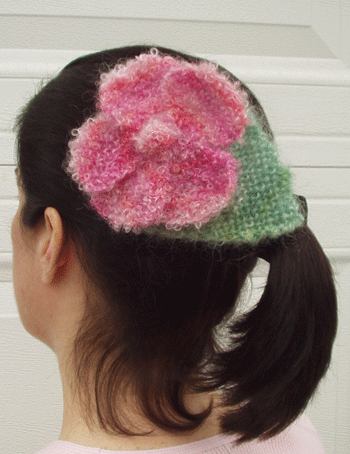
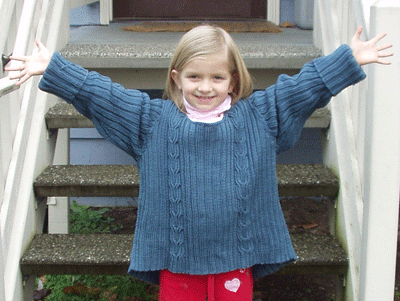
Thank you all for the compliments on my projects the past few days, with Lauralund, the stole (soon to be shrug) and the stitch markers. You are all so kind.