


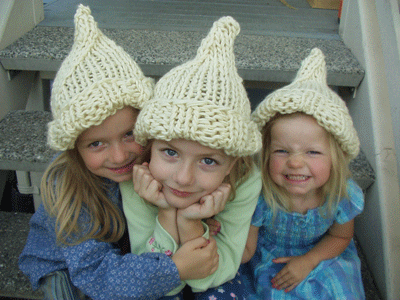
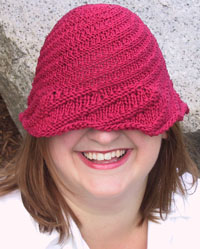
Thursday, June 10th, 2004
You asked for it
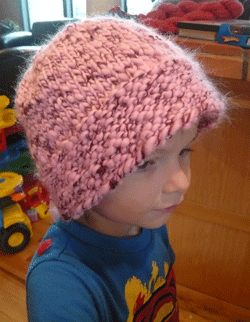
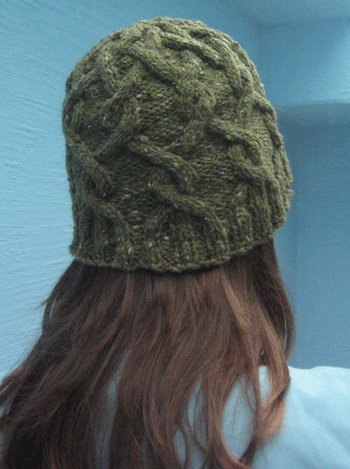
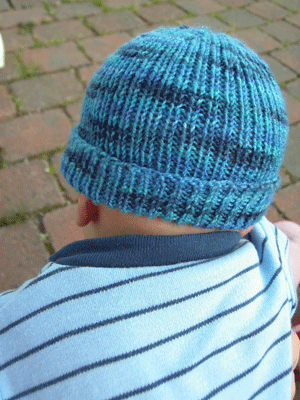
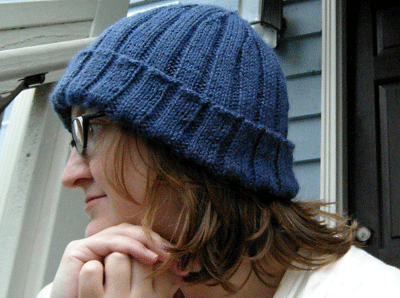
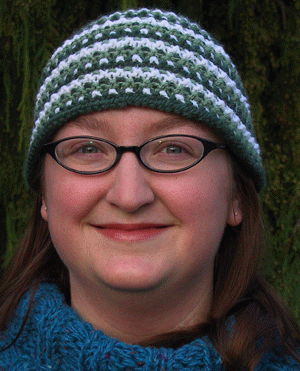
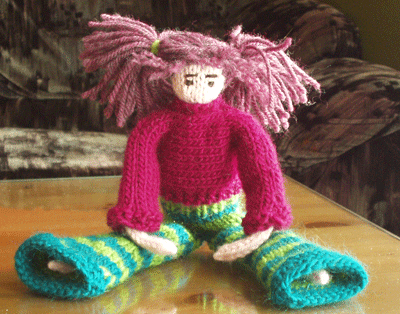
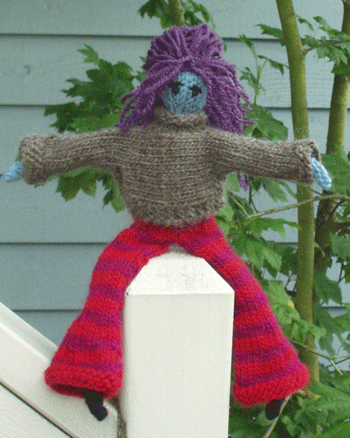
I am perfectly willing to share my notes for my Mother’s Day Diagonal. However, there are conditions. First of all, keep in mind that these are notes, and while I did the best I could at accurately writing down my process, the possibility exists, and is even highly likely, that you will have to step in and use your best judgement at times. I am making no promises, and don’t want to be flamed. Secondly, well, no, that first one was mainly it. I would, however, love to see what you all do with it, and would encourage you to send me pictures or links. I would be happy to post pictures of any completed “Diagonals” on my site, with your permission of course. And finally, don’t let me scare you off. I am not an amazing knitter among those who knit, I just appear that way to those who don’t. If you have any experience knitting patterns, and are willing to depart from one to do what makes better sense to you, then you ought to be able to hash it out just fine. It’s not that complex. My best advice to you is to look at the basic concept of what I am trying to do, and if the need arises, don’t be afraid to come up with your own numbers. It will be easier that way. Feel free to ask me any questions along the way.
Things to keep in mind: my head is 22 inches in diameter. This hat size will work fine for a smaller head, if it is much larger, you may want to mess with gauge or work out new numbers. I used Cotton Classic yarn by Tahki. There are links to both of these in previous posts. I used two skeins and had plenty of yarn left over.
Sketchy instructions follow:
Needles: size 6, 16 inch circular
size 6 double pointed needles
Gauge: I have no idea, sorry*
-With yarn doubled, cast on 108 stitches, connect the ends (being careful not to twist) and begin knitting in
-Place marker.
-K5,
-Every 4th row, decrease evenly in pattern, which means pick how you want to turn 2 stitches into 1 stitch, and do it in the same way and place in each set. For example, on my first decrease round, (looking at a set of K6, P3 stitches), I chose to
-Once you have knit a decrease round 3 times, you should be knitting sets of
-Cut one strand of yarn, leaving 8 inches or so for weaving.
-With one strand of yarn, continue knitting in pattern, sets of
-Once again, decrease evenly in pattern, to end up with sets of
-Knit 4 or so rows.
-Next row, decrease evenly in pattern, leaving you with sets of
-Knit 4 or so rows again.
-Decrease by
-Purl 1-2 rounds
–
-Purl 2 rounds
–
-Purl 1 round. Unless I forgot something, I had 12 stitches left at this point. I cut my yarn, leaving a good, long tail, and used my embroidery needle to thread it through the remaining 12 stitches and pull it closed.
-Weave in ends.
DO A HAPPY DANCE! AND SEND ME PICTURES OF YOUR HAT!
*I never save my gauge swatches. It seems like a waste of yarn to me, so I always swatch, measure, frog, and then reuse the yarn on my project. Also, if you remember from earlier posts, my swatch was a big, fat, LIAR, so I don’t think it’d help you anyway. I tried to measure my gauge on the hat itself, but being shaped and all, I didn’t think I could get it accurate. If you really want me to, I’ll do it anyway.
**Please note: at this point, I’ve got you started on the pattern. You ought to be able to see what to do at the beginning and end of rows from here. Basically, the P3 bands move 1 stitch to the right constantly. It moves fluidly through the transition from one row to the next, so when you’re done, you can’t tell where the back of the hat is. From here on out, I’m not going to know where your place marker sits in a “set” of K’s and P’s, so when I’m telling you to do something, I’m talking about altering each set, not how many stitches to knit at the start of a round. At this point in the pattern, one K6, P3 is a set. The K’s will change, the P’s remain the same at 3. In my hat, there are 12 sets.
Clear so far? :-). Just work through it. It’ll be OK.
Also, If an extra stitch that would disrupt the stitch pattern pops up, make sure it isn’t the result of a mistake first, and then assimilate it inconspicuously. I don’t know why, but this happened to me a time or two.
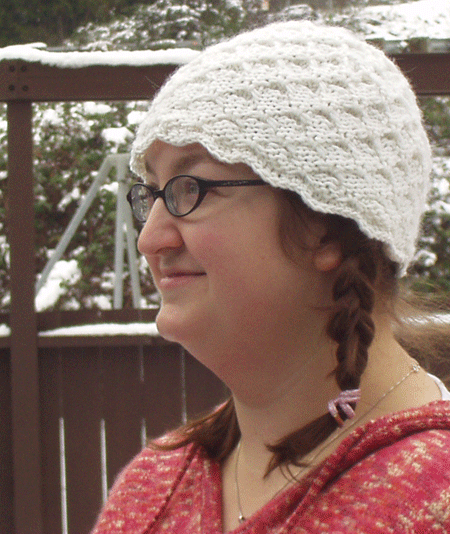
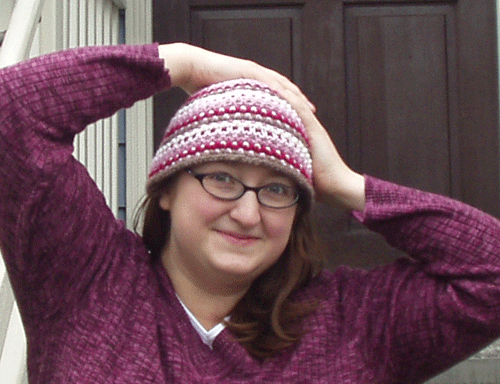
And finally, here’s another picture of me in my hat that we all thought was pretty funny. Reminds me of Fat Albert. Anybody remember that show? I can’t remember the name of the character I resemble.
Please let me know if any part of this is unclear, or if you have any questions. I promise that as you do it, with the yarn in your hands, it will make more sense.