


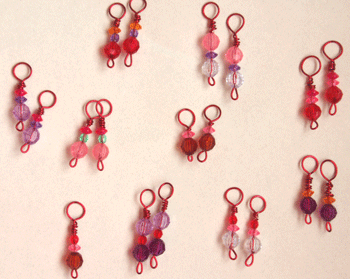
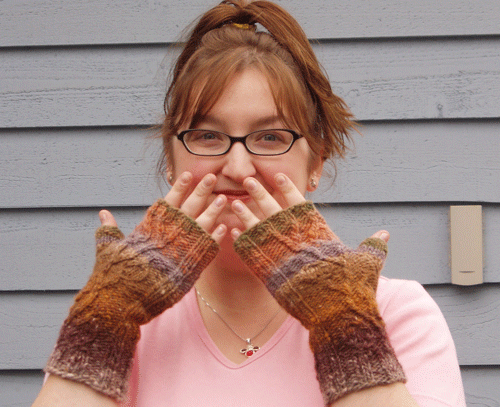
I’m up to 10 pair made. And I’m curious, do you ladies want a matched set? Or would you rather have two different markers? Let me know.
So, the tutorial. I took pictures yesterday, and before I show them to you, I have to say, I’m SO novice at this! Those of you who are real beaders are going to cringe, I’m sure, BUT, there was enough interest that I thought I’d post how I make them. The only instruction I’ve had was an email tutorial by my friend Yvette, who lives in France. (And I still SO appreciate it. You’ve been so good to me, Yvette. Thank you).
First, I take a length of 20 gauge wire about 2 1/2 inches long. I bend one end up a little bit, to make a loop, and I crimp the end to the vertical wire to make it tight.
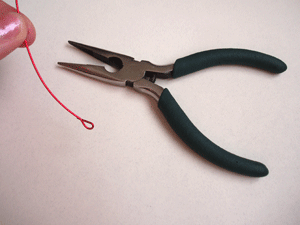
Pictured above is the only tool I have, which is a combination pliers/wire cutters.
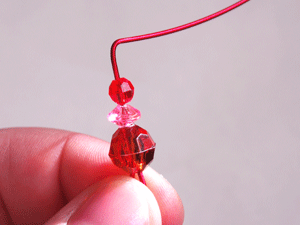
Next, I slip on beads, making sure that the bottom bead covers the loose end.

Then I use the pliers to put a 90 degree bend in the wire, a bit above the beads.
With a knitting needle held above the wire, I bend the wire around the needle. I’ve been using size 10 1/2.
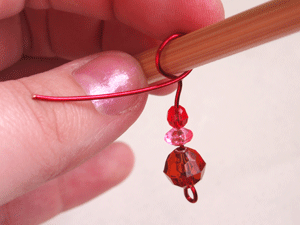
Tightly wrap the remaining wire around the vertical wire, ending tightly above the beads so they don’t wiggle around and rise above the open end on the bottom. Crimp end tightly to avoid snags.
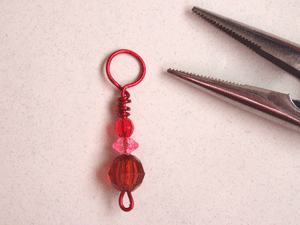
There you have it. Loads of fun. Yet another way to play with color. And I have to tell you, whenever I slip one as I’m knitting, I smile with glee.
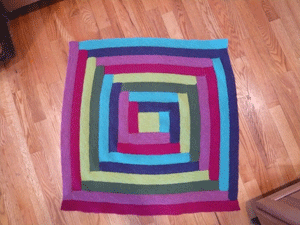
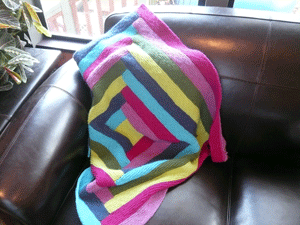
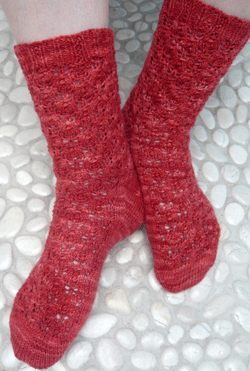
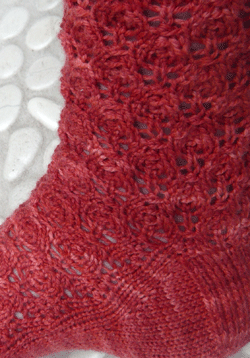
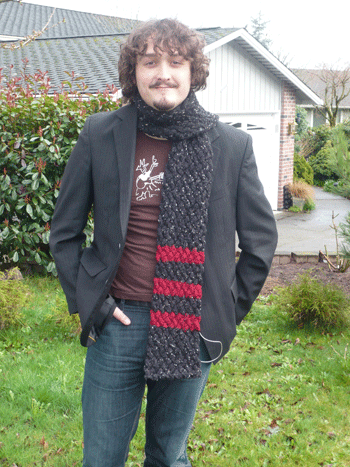
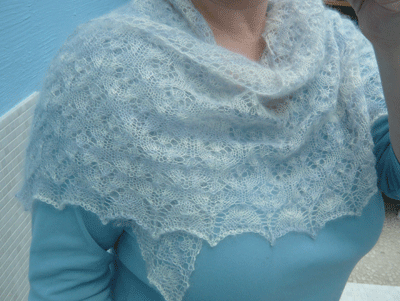
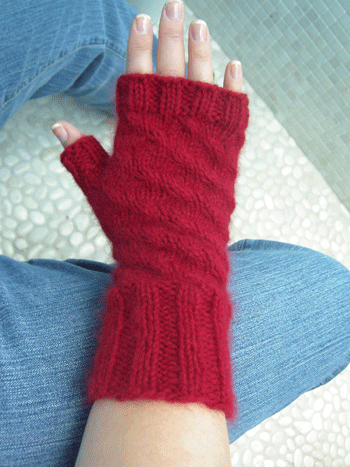
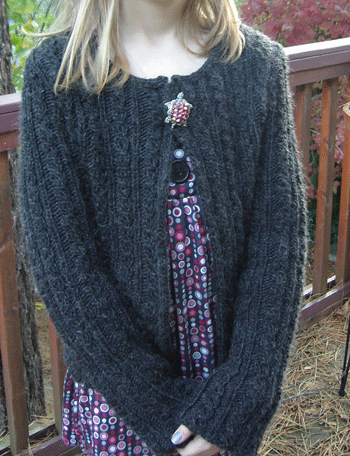
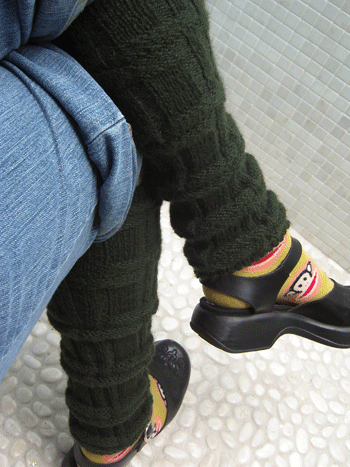
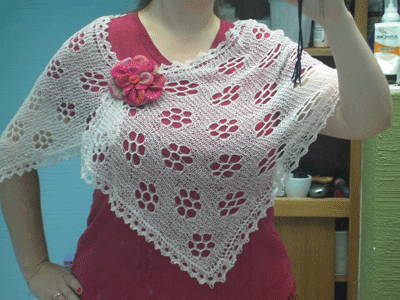
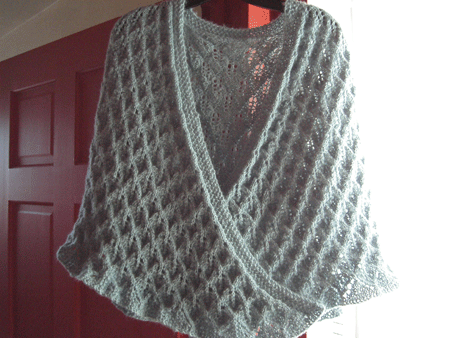
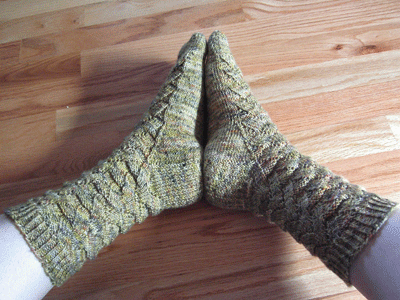
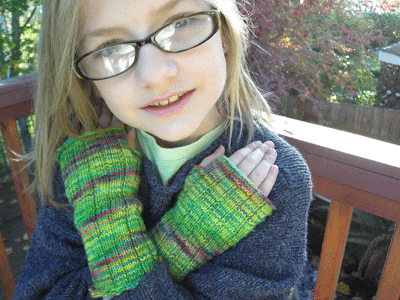
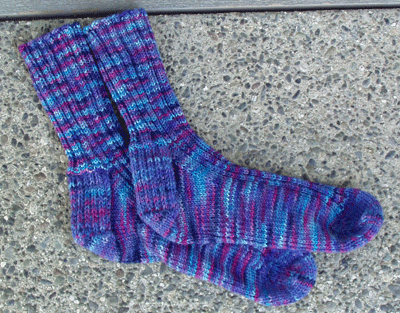
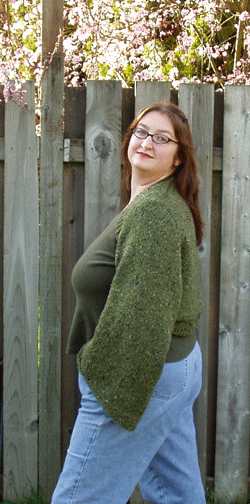
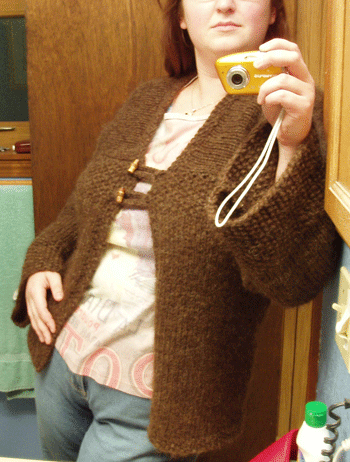
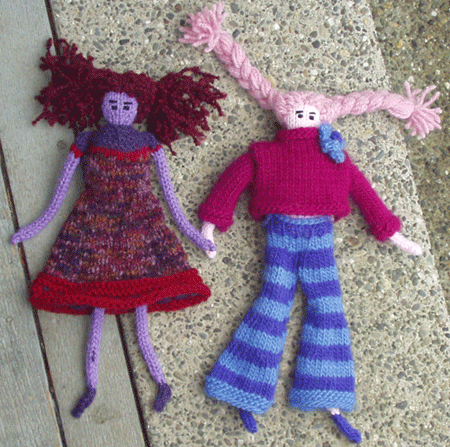
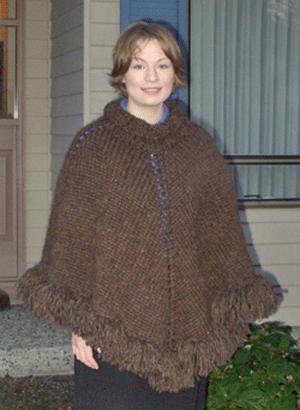
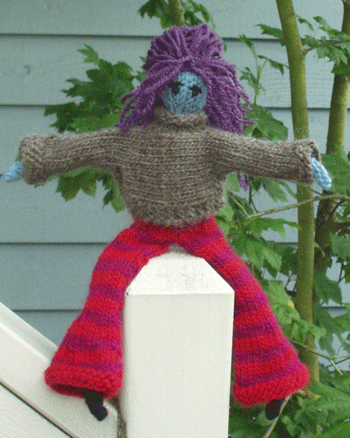
Thank you all for the compliments on my projects the past few days, with Lauralund, the stole (soon to be shrug) and the stitch markers. You are all so kind.
February 8th, 2005 at 9:55 pm
Laura, Love the stitch marker how to. It’s cool how you keep the pointy bits all snug in the beads. Thank you! I can’t speak for others but I would like two different markers, if I were to be so lucky as to be a Poor Miss Finch Feeling the Love winner. Have a great Wednesday.
February 8th, 2005 at 10:13 pm
Different markers, definitely!
Thanks for the tutorial. Very simple and fun. I’ve made some round stitch markers (not dangly ones)…just bending wire into a circle, adding small beads, and crimping both ends. Those are fun, too, and because the ends are not joined together, you can attach them to the yarn and remove them as necessary when you are knitting.
These look much more fun, though! Fancy, fancy. You can take it one step farther and apply it to earring making, too. Just get the earring wires (we have a store that sells them here in Ohio) and do pretty much what your doing with the stitch markers, and you’ll have one of a kind Miss Finch earrings. 🙂
February 8th, 2005 at 10:53 pm
Thank you, Thank you, Thank you! I have been wanted a very clear picture on how to do this! Thank you for taking the time to put it together. By the way, they are so cute, I love the colors.
February 9th, 2005 at 12:27 am
Different markers, for sure!
All the pink in the photo reminds me of those Valentines Day decorations that we made in elementary school. Lots of white, pink, red, and lavender, all held together with that squishy white paste.
February 9th, 2005 at 12:44 am
I want to try to get in on your Valentine dealie, but can’t seem to comment on your site very often for some technical reason that’s beyond me. Can you throw my name in ? Thanks.
February 9th, 2005 at 1:30 am
Fantastic!!! Love the tutorial!! How exciting… a new craft project. Though I’m working on a rainbow striped baby blanket with the Manos cotton… and I can’t start anything else until that’s done. Yikes, on size 5 needles… I wish I could knit in my sleep. 😀
I say different markers too… that is, if I was one of the lucky recipients. hee hee
Hope you are well! Take care.
Samantha
February 9th, 2005 at 2:35 am
Oooh! So pretty! And simple too 🙂
Thanks for sharing the tutorial with all of us! I love the suggestion up above of making earrings this way… I must try it!
February 9th, 2005 at 8:08 am
Different ones, for sure! Thanks for the tutorial… I’ve been thinking of making some with these wood beads I’ve had in my craft box for about 6 years…
February 9th, 2005 at 10:34 am
Laura the markers look so very nice! The colors made me think of the Red Hat Society.
February 9th, 2005 at 9:01 pm
Ooh, they’re pretty! 🙂 I’m just getting my first stitch markers ever from a friend this weekend, I’ve never grasped the concept of using markers instead of counting stitches. (And yet I’m supposed to be intelligent according to all tests. ;))
February 10th, 2005 at 2:29 am
Thx for posting your tutorial! I am such a visual learner & appreciate the photos. 🙂
February 10th, 2005 at 2:51 am
thanks for the tutorial! i have tons of beads and have been wanting to make some markers but i couldn’t figure out how to hide the ends. this way looks great! can’t wait to give it a shot 🙂
February 10th, 2005 at 2:28 pm
Great tutorial. Thanks!
February 11th, 2005 at 8:25 am
thanks so much for the tutorial! I’ve beeen thinking about making stitch markers for the longest time and wasn’t clear on how. I really like how yours turned out.
February 14th, 2005 at 4:23 am
Thank you for doing this. I’ve been wanting to try making stitch markers but wasn’t sure how and didn’t want to invest a lot in supplies. I can’t wait to try making some of my own. Hope they turn out as cute as yours!
October 8th, 2008 at 6:27 pm
Thanks for the tutorial. I noticed on one of your other posts that you get a lot of knitting done during General Conference. Isn’t it the *perfect* time to knit, crochet or spin? You can listen and be fiber-ly productive at the same time! 😉